If your pup devours treats faster than you can say “good dog,” it’s time to bring out the big (chewable) guns.
Easy Long-Lasting Homemade Dog Treats are perfect for keeping your dog busy, happy, and out of your shoe closet. These treats are made with simple, natural ingredients and baked to be tough enough for a serious gnaw—great for teething pups, bored chewers, or any dog who loves a good challenge.
No mystery ingredients, no store-bought nonsense—just wholesome snacks that actually last more than five seconds.
Ready to make treat time last a little longer? Let’s get baking!
Easy Long-Lasting Homemade Dog Treats
Minty Fresh Breath Dog Treats
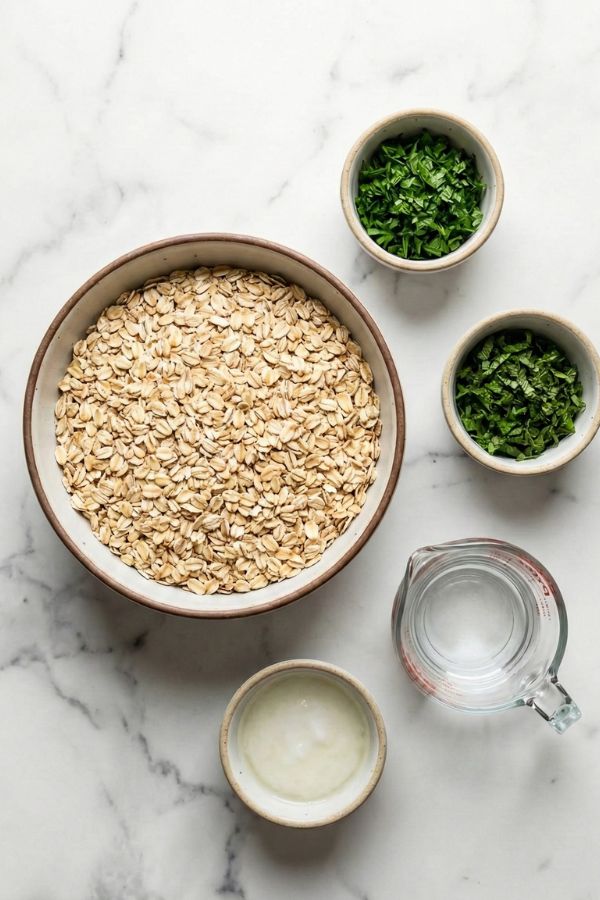
Infused with fresh mint and parsley, these treats not only freshen your dog’s breath but also promote dental health. Their crunchy texture helps remove plaque, while the natural ingredients work wonders for your dog’s oral hygiene.
Ingredients
- 2 1/2 cups old-fashioned oats (divided)
- 1/2 cup fresh parsley, finely chopped (packed)
- 1/2 cup fresh mint, finely chopped (packed)
- 3 tablespoons melted coconut oil
- 1/4 cup to 1/2 cup water (added gradually)
Instructions
- Create Your Oat Base: Preheat your oven to 325°F (163°C). Pulse 2 cups of the oats in a blender or food processor until they reach a coarse, flour-like consistency. Keep the remaining 1/2 cup of whole oats aside to add texture to the biscuits.
- Combine the Greens: In a large bowl, mix your “oat flour,” the whole oats, finely chopped parsley, and mint.
- Pro Tip: Use a food processor to blitz the herbs and coconut oil together first to ensure the green goodness is evenly distributed throughout every bite.
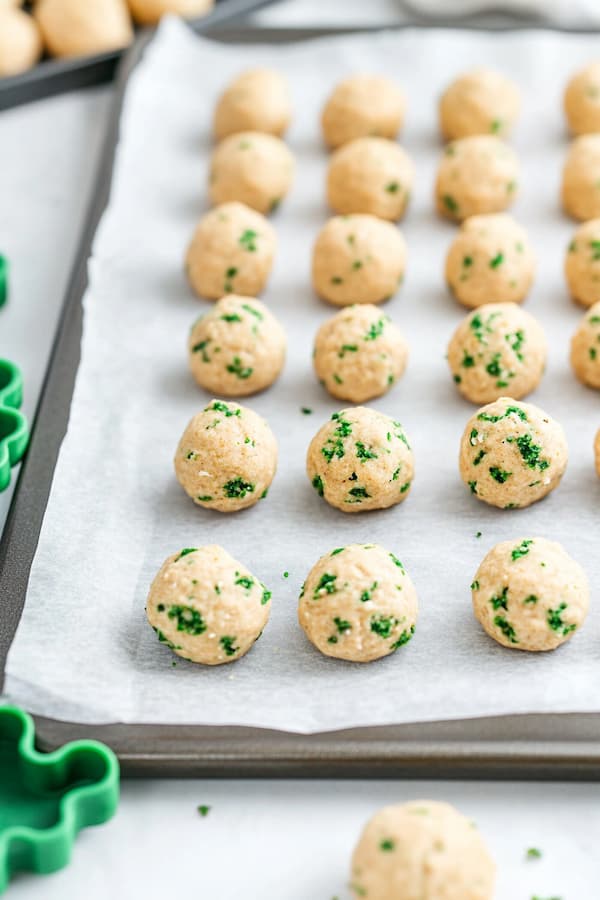
- Form the Dough: Pour in the melted coconut oil and start with 1/4 cup of water. Stir until a dough begins to clump together. If it feels too dry or sandy, add more water one tablespoon at a time. Oat dough needs a minute to “hydrate,” so let it sit for 5 minutes before rolling—it will become much easier to work with.
- Roll and Cut: On a surface lightly dusted with oat flour, roll the dough to 1/4 inch thickness. Use a small circular cutter or a bone shape. These don’t spread much, so you can place them fairly close together on a parchment-lined baking sheet.
- Bake to Perfection: Bake for 25–30 minutes. For an extra-crunchy biscuit that helps clean teeth, turn off the oven and let them sit inside for an additional 15 minutes as the oven cools down.
- Cool Completely: Let the biscuits cool on a wire rack before serving. The coconut oil needs to firm back up to give the treat its final “snap.”
Storage: Store in an airtight container for up to 2 weeks or freeze for longer storage.
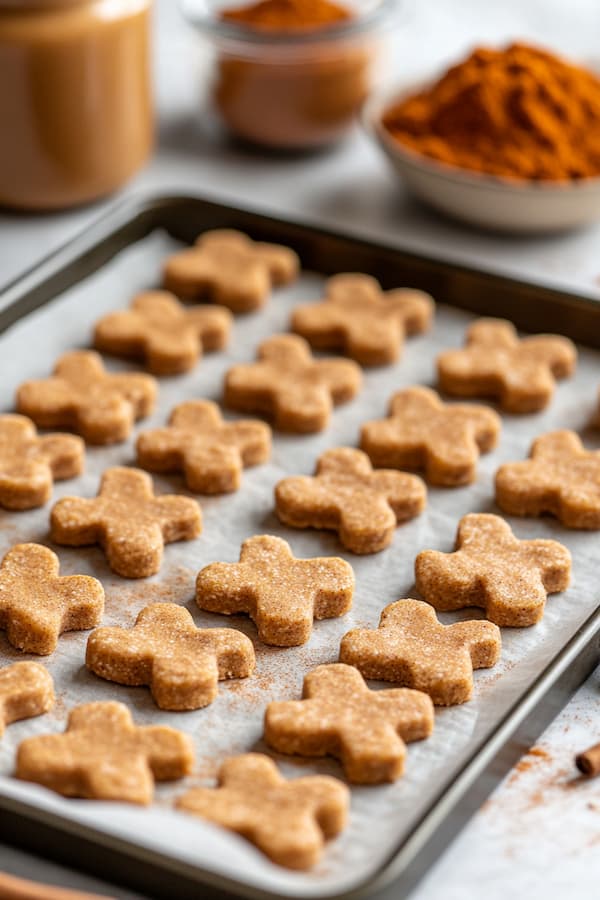
Peanut Butter and Pumpkin Dog Chews
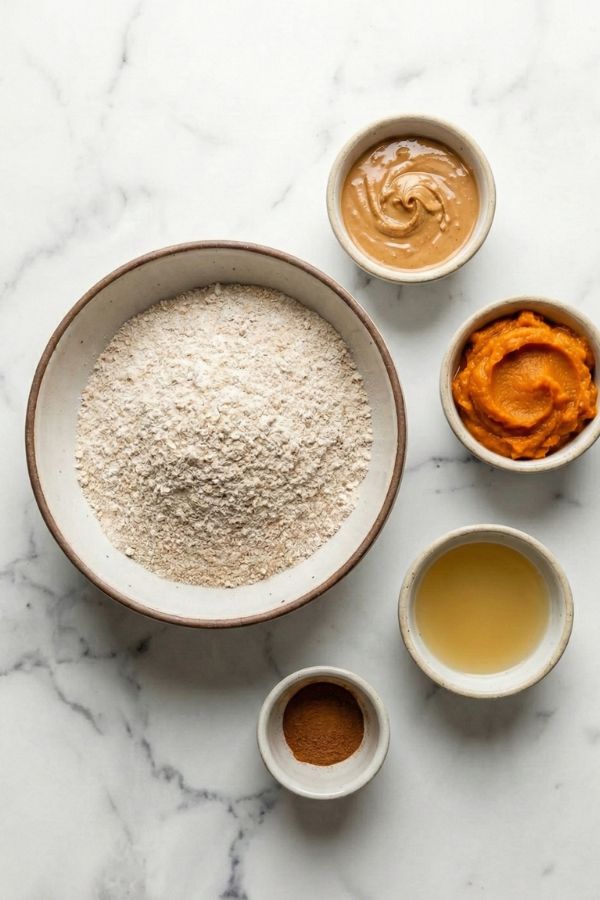
These peanut butter and pumpkin chews are a hit with dogs who love a satisfying crunch. Peanut butter provides healthy fats and protein, while pumpkin offers fiber and vitamins. Baking these chews at a low temperature ensures they stay crunchy for longer.
Ingredients
- 2 cups whole wheat flour (or oat flour for a gentler digestion)
- 1/2 cup natural peanut butter (must be xylitol-free)
- 1 cup pure pumpkin puree (ensure it is not pumpkin pie filling with added spices/sugar)
- 1/4 cup low-sodium chicken or beef broth (add gradually)
- 1 teaspoon cinnamon (optional, great for anti-inflammatory benefits)
Instructions
- Preheat and Prep: Preheat your oven to 350°F (175°C). Line two large baking sheets with parchment paper.
- Combine Dry & Wet: In a large bowl, whisk the flour and cinnamon. Create a well in the center and add the pumpkin and peanut butter. Begin mixing, gradually adding the broth one tablespoon at a time.
- The “Earlobe” Texture: Knead the dough inside the bowl or on a lightly floured surface for about 2 minutes. You are looking for a stiff, dry dough that feels like an earlobe—it should be firm and not stick to your hands. If it’s too sticky, add a tablespoon of flour; if it’s crumbly, add a tiny bit more broth.
- Roll and Cut: Roll the dough out to about 1/2 inch thickness. Since these are “chews,” keeping them thicker makes them last longer. Use a bone-shaped cutter or simply a pizza cutter to make uniform rectangular bars.
- The Two-Stage Bake: * Stage 1 (Cook): Bake at 350°F for 25–30 minutes. The treats should be browned on the bottom.
- Stage 2 (Harden): Turn the oven down to 200°F (93°C). Leave the treats in for another 1–2 hours. This slow-drying process removes the internal moisture, which is the “secret sauce” to making them crunchy and shelf-stable.
- The Snap Test: Let them cool completely on a wire rack. Once cold, try to break one. It should “snap” cleanly rather than bend or crumble.
Storage: Store in an airtight container for up to 2 weeks or freeze for up to 3 months.
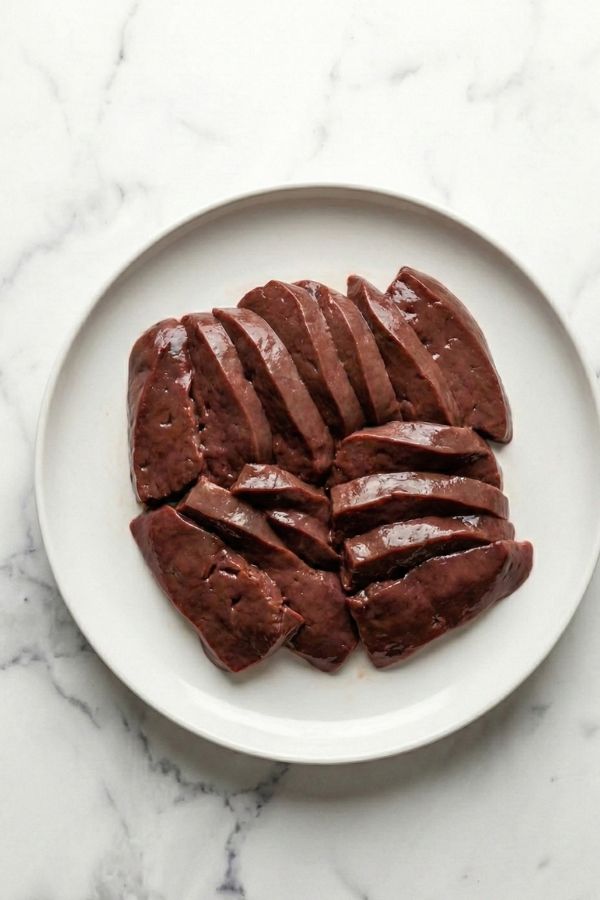
Crispy Beef Liver Treats
Packed with protein, these crispy beef liver treats are perfect for meat-loving dogs. Dehydrating the liver ensures these treats last longer without losing their nutrients.
Ingredients
- 1 pound fresh or thawed beef liver (organic/grass-fed is best if available)
Instructions
- The “Partial Freeze” Hack: Fresh liver is very soft and difficult to slice thinly. Place the raw liver in the freezer for 45–60 minutes until it is firm but not frozen solid. This allows you to slice it into perfectly uniform strips without it falling apart.
- Slice Thinly: Preheat your oven to 200°F (93°C). Slice the firmed-up liver into 1/4 inch strips (or even thinner for a crunchier “chip” texture). Keep the sizes consistent so they all finish drying at the same time.
- Prepare the Sheet: Line a baking sheet with parchment paper. Arrange the liver strips in a single layer, ensuring they do not touch. Liver releases a lot of moisture during the drying process, so space is key for proper airflow.
- The Dehydration Phase: Bake for 3 to 4 hours, flipping the pieces at the halfway mark.
- For Chewy Treats: Aim for the 3-hour mark.
- For Crunchy Crisps: Aim for 4 hours or until the pieces feel light and “snappy” when broken.
- Cool and Store: Allow the treats to cool completely on the pan.
Storage: Store in the fridge for up to 2 weeks or freeze for longer storage.
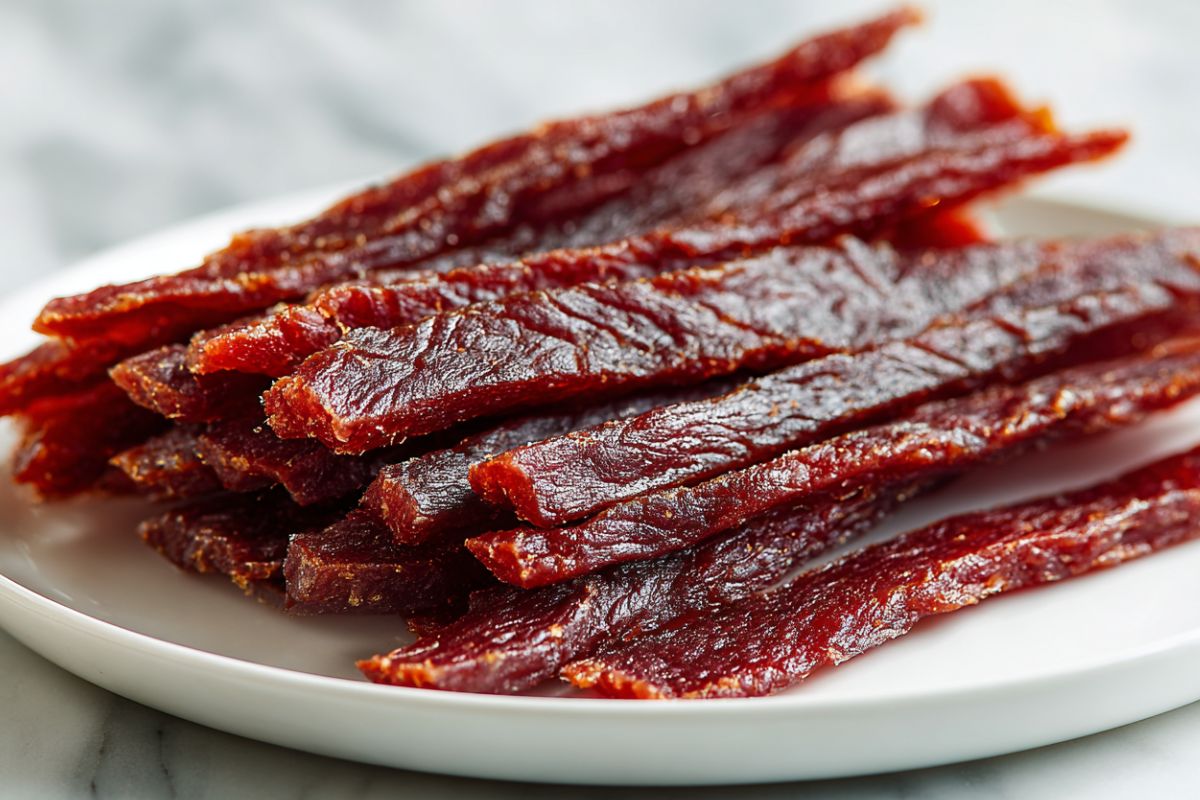
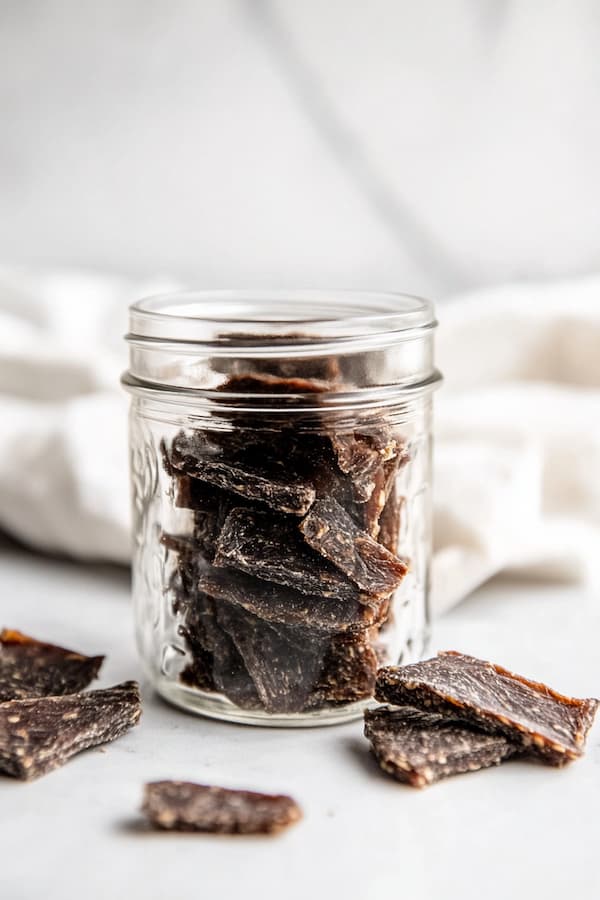
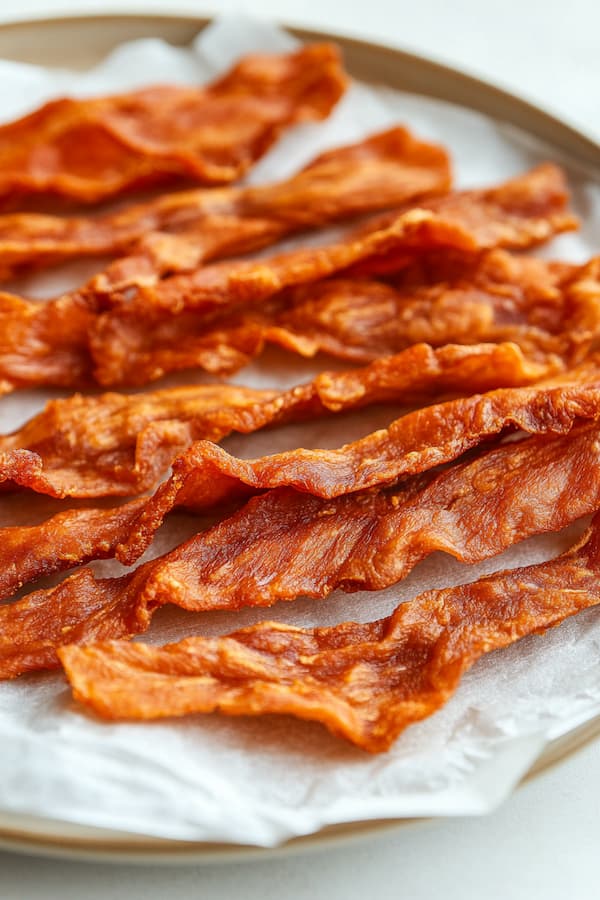
Dehydrated Chicken Jerky
This simple chicken jerky recipe provides a lean, protein-packed treat that’s perfect for keeping your dog busy. The chewy texture also makes it last longer, giving your dog hours of enjoyment.
Ingredients
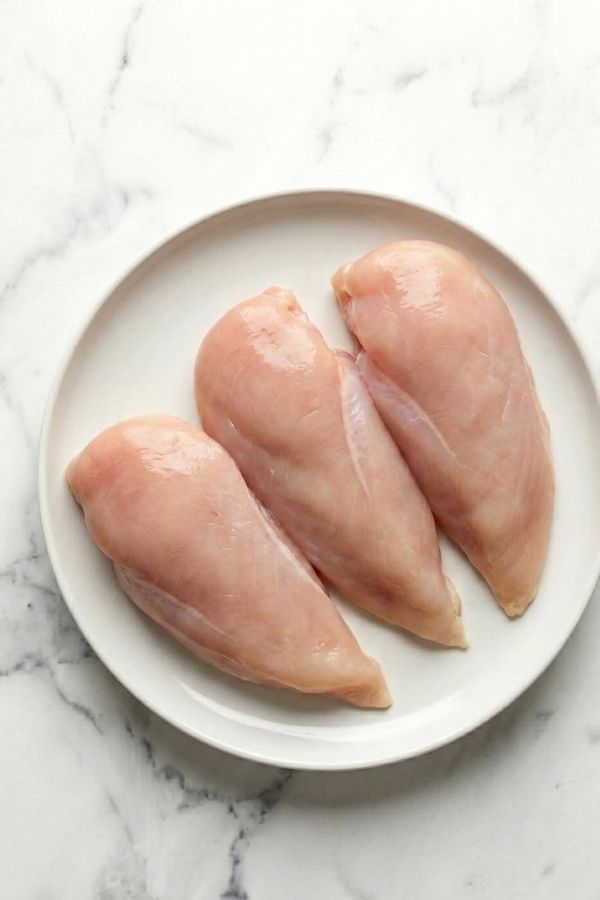
2-3 large boneless, skinless chicken breasts (all visible fat trimmed)
Instructions
- Prep the Chicken (The Pro Tip): To get perfectly even strips, place the chicken breasts in the freezer for 30–45 minutes before slicing. This firms up the meat, allowing you to cut thin, uniform slices without the chicken sliding around.
- Slice for Success: Preheat your oven to 200°F (93°C). Slice the chicken into strips about 1/8 to 1/4 inch thick.
- Note: Slice with the grain for a tougher, long-lasting chew, or against the grain for a treat that’s easier to break into small training bits.
- Arrange and Dehydrate: Lay the strips on a baking sheet lined with parchment paper or a silicone mat. Ensure the pieces are not touching, as they need airflow on all sides to dry properly.
- The Slow Bake: Bake for 2.5 to 4 hours, flipping the strips halfway through. You are looking for a “leather-like” texture. The jerky should be firm and slightly bendable, but not “snappy” like a cracker.
- Cool and Test: Let the jerky cool completely on a wire rack. To check for doneness, tear a piece in half; there should be no visible moisture or “white” fleshy chicken in the center.
- Storage: Store in an airtight container in the refrigerator for up to 2 weeks, or freeze for up to 3 months. Because there are no artificial preservatives, keeping them cool is key!
Quick Safety Note: Make sure your chicken is completely plain—avoid using “pre-marinated” chicken from the store, as those often contain onion or garlic powder which are toxic to dogs.
Storage: Store in an airtight container in the fridge for up to 2 weeks or freeze for up to 3 months.
Portion Control and Moderation
While homemade treats are healthier, it’s still essential to give them in moderation. Overfeeding treats, even healthy ones, can lead to weight gain and upset stomachs. Here’s a guide on portion control:
- Small Dogs: 1-2 small treats per day.
- Medium Dogs: 2-3 treats per day.
- Large Dogs: 3-4 treats per day.
Remember, treats should not exceed 10% of your dog’s daily caloric intake. If you’re unsure, consult with your vet about the appropriate portion sizes.
Signs Your Dog May Be Sensitive to Certain Ingredients
While the recipes are generally safe for most dogs, some pups may have sensitivities or allergies to certain ingredients. Common signs of food intolerance in dogs include:
- Vomiting or diarrhea
- Excessive itching or ear infections
- Red or inflamed skin
- Changes in behavior or appetite
If you notice any of these symptoms after introducing a new treat, it’s a good idea to consult your veterinarian and discontinue that treat.
Choosing the Best Ingredients for Homemade Dog Treats
When making treats for your dog, not all ingredients are created equal. Here’s a quick guide to choosing healthy, dog-safe ingredients:
- Flours: Opt for whole wheat flour, oat flour, or rice flour. These are easy on your dog’s digestive system. For dogs with allergies, chickpea flour, coconut flour, or gluten-free alternatives are good options.
- Sweeteners: Avoid refined sugars and opt for naturally sweet ingredients like pumpkin, sweet potato, or applesauce. These provide extra vitamins and fiber.
- Fats: Healthy fats like peanut butter (make sure it’s xylitol-free), coconut oil, or fish oil can benefit your dog’s coat and overall health.
- Herbs and Spices: Fresh herbs like parsley, mint, and rosemary can add flavor and freshen your dog’s breath. Spices like turmeric or cinnamon, when used in moderation, provide anti-inflammatory benefits.
How to Make Treats Even More Fun
To engage your dog further, you can use these treats for enrichment:
- Puzzle Toys: Place these homemade treats inside treat-dispensing toys to challenge your dog’s brain and extend the fun.
- Training Rewards: Use small portions of these treats to reward good behavior during training sessions.
- Interactive Playtime: Hide the treats around the house or yard and let your dog search for them, turning snack time into a game.
When to Introduce New Treats
If you’ve never made homemade treats for your dog, it’s a good idea to introduce them slowly to monitor for any adverse reactions. Start with a small portion, and watch for signs of digestive upset or allergies. If your dog enjoys the treats and has no issues, you can gradually increase the serving size.
Conclusion
Homemade dog treats are not only a healthier choice for your furry friend, but they also provide you with the opportunity to bond over something delicious. Whether it’s peanut butter and pumpkin chews, sweet potato biscuits, or chewy chicken jerky, these long-lasting treats will keep your dog satisfied, entertained, and healthy. So roll up your sleeves and start baking your way to a happier, healthier dog!