You know that look your dog gives you when it’s hot outside—the one that says “I’m melting, please help”? Yeah, we’re not about to let that happen.
Say hello to Frozen Dog Treats with Blueberries: 3 Cool & Healthy Recipes for Happy Pups.
These frozen bites are basically summer in treat form. They’re hydrating, packed with antioxidants (thank you, blueberries), and a total game-changer for steamy days, post-walk cooldowns, or just because your pup deserves a little something special.
And the best part? You don’t need fancy molds or a chef’s hat. These recipes are quick, simple, and customizable—like DIY pup-sicles that work for picky eaters, sensitive tummies, and everything in between.
So grab your blueberries, clear a little freezer space, and let’s chill.
Why Blueberries Are Great for Dogs
- Rich in antioxidants – Support immune health and brain function
- Contain fiber – Aids in digestion
- Naturally low in calories and sugar
- Easy to serve whole, blended, or frozen
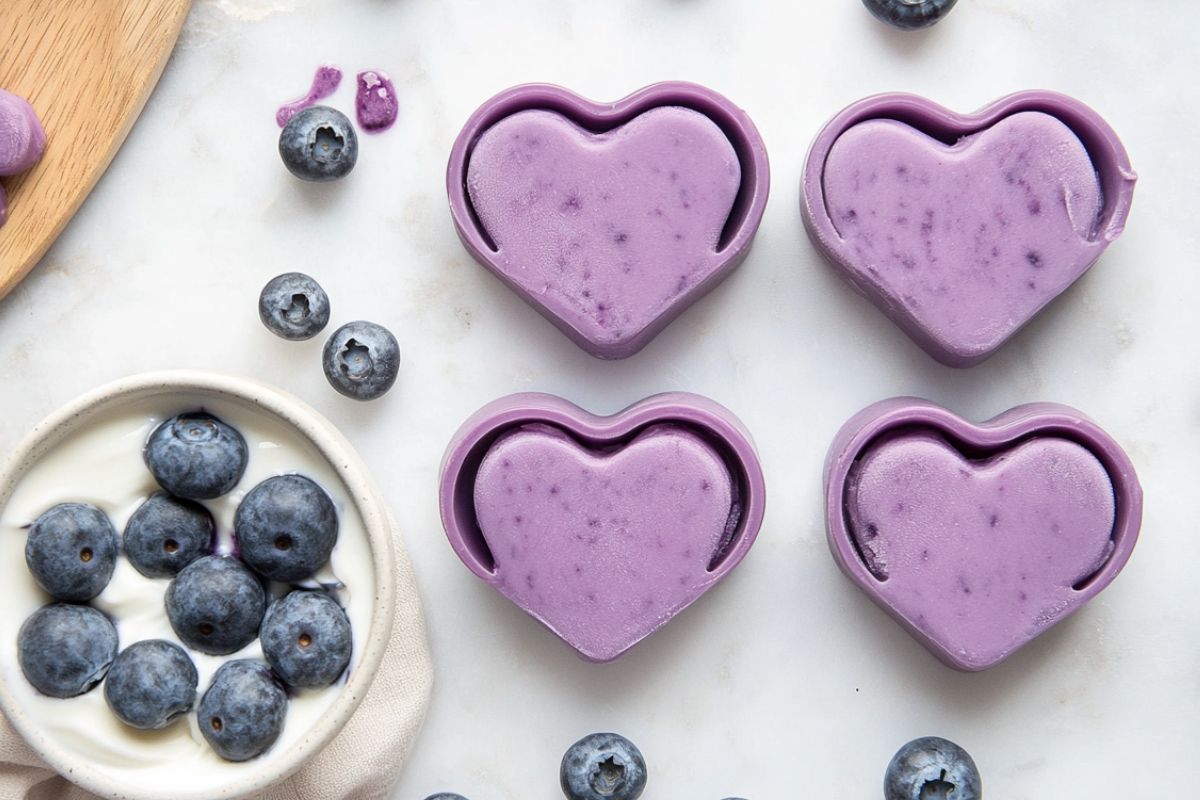
#1 Blueberry Yogurt Bites
Ingredients:
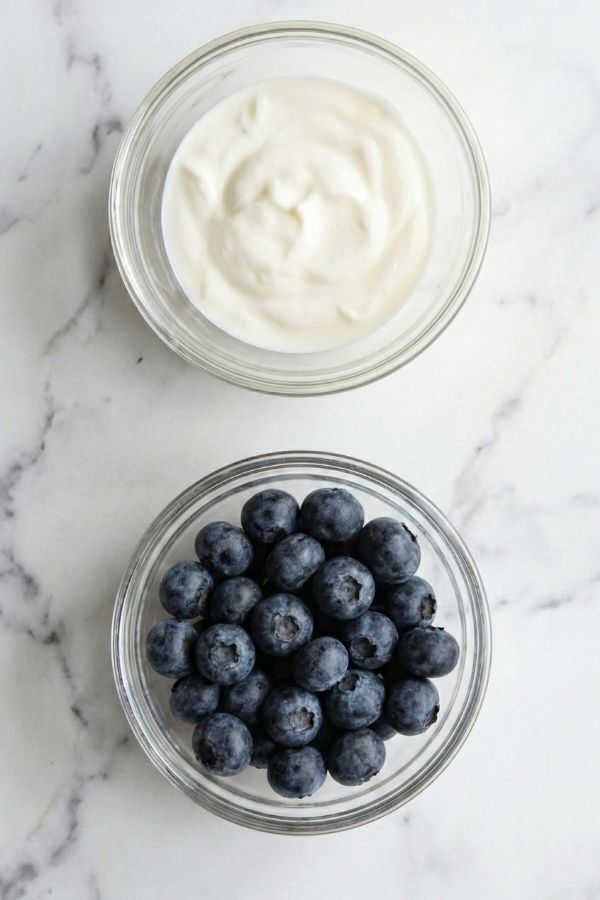
- 1/2 cup plain Greek yogurt (unsweetened, no xylitol)
- 1/4 cup fresh or frozen blueberries
- 1 tablespoon water (optional, to thin the mixture)
Instructions
Step 1: Prep the Blueberries
Grab ¼ cup fresh or frozen blueberries. If fresh, rinse thoroughly under cold water and pat dry with a paper towel, checking for any soft or spoiled berries. If frozen, let them thaw slightly for 5–10 minutes to make blending easier. Set aside in a small bowl.
Step 2: Check the Yogurt
Measure ½ cup plain Greek yogurt (unsweetened, no additives). Confirm it’s xylitol-free, as xylitol is toxic to dogs. Check the label for “no artificial sweeteners” and ideally “live cultures” for gut health. Place the yogurt in a small blender or food processor with the blueberries.
Step 3: Blend the Mixture
Blend on high for 30–45 seconds until the mixture is smooth and uniform, like a thick smoothie with no berry chunks. Scrape down the sides with a spatula to ensure everything’s mixed. If the mix is too thick (like paste), add 1 tbsp water and blend for 10 seconds to make it pourable.
Step 4: Check Consistency
Stir the mixture and check its texture. It should be creamy but fluid, like melted ice cream. If it’s still too thick, add 1 tsp more water and blend briefly. If too runny, add 1 tsp more yogurt. This ensures it freezes evenly without being icy.
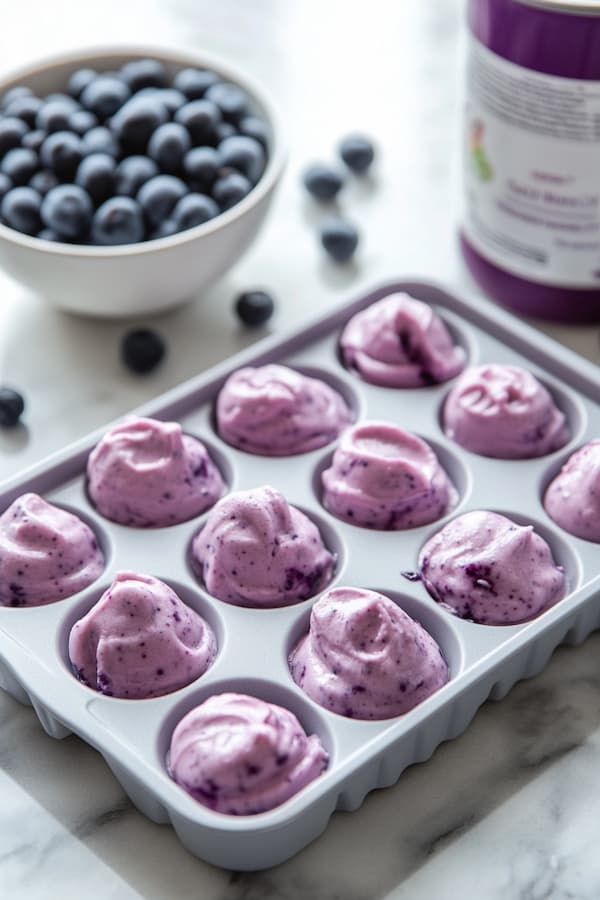
Step 5: Prep Your Molds
Get silicone treat molds, ice cube trays, or mini muffin cups ready—silicone is best for easy release. If using metal trays, lightly spray with cooking spray and wipe off excess. Place on a flat surface to prevent spills during filling.
Step 6: Fill the Molds
Carefully pour or spoon the mixture into each mold, filling them about ¾ full to allow for slight expansion. Use a small spatula or spoon to level the tops for a clean look. Tap the tray gently on the counter to settle the mix and remove air bubbles.
Step 7: Freeze for 3–4 Hours
Place the molds in the freezer on a flat shelf to avoid spills or uneven freezing. Freeze for at least 3–4 hours, or overnight for best results, until the bites are completely solid. Check by pressing one—if it’s firm and doesn’t budge, you’re set.
Step 8: Pop Out the Bites
Once frozen, pop the bites out by twisting silicone molds or running ice cube trays under warm water for 5–10 seconds to loosen. Gently press the bottom of each mold to release. Collect the bites in a pile for storing.
Step 9: Store and Label
Transfer the bites to an airtight container or freezer-safe bag, labeled with the date and “Dog Treats” to avoid mix-ups. Store in the freezer for up to 2 weeks. If stacking, layer with parchment paper to prevent sticking.
Step 10: Serve as a Reward
Serve 1–2 bites to your pup as a refreshing reward, perfect for warm days or post-playtime. Watch them enjoy the creamy, fruity goodness, and limit to a few weekly to keep it balanced.
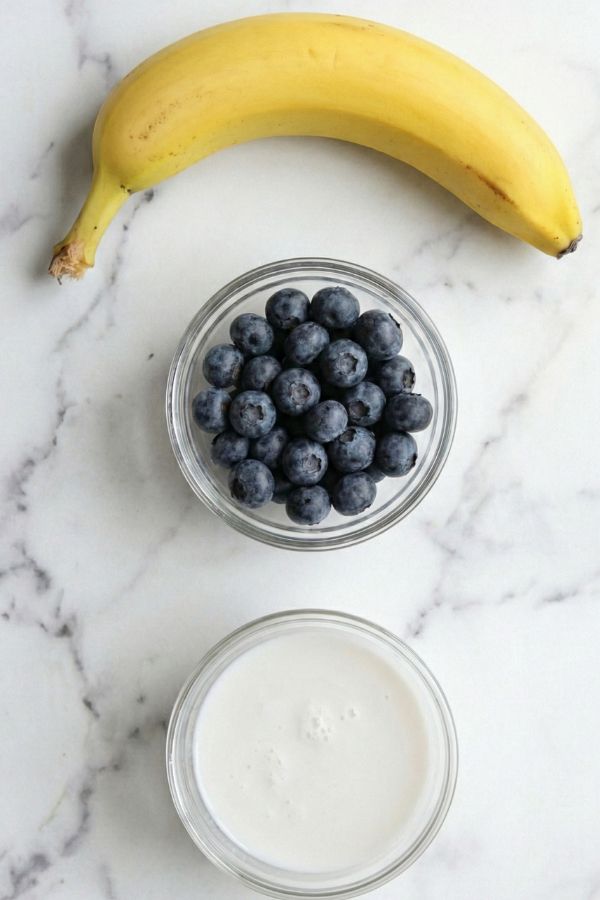
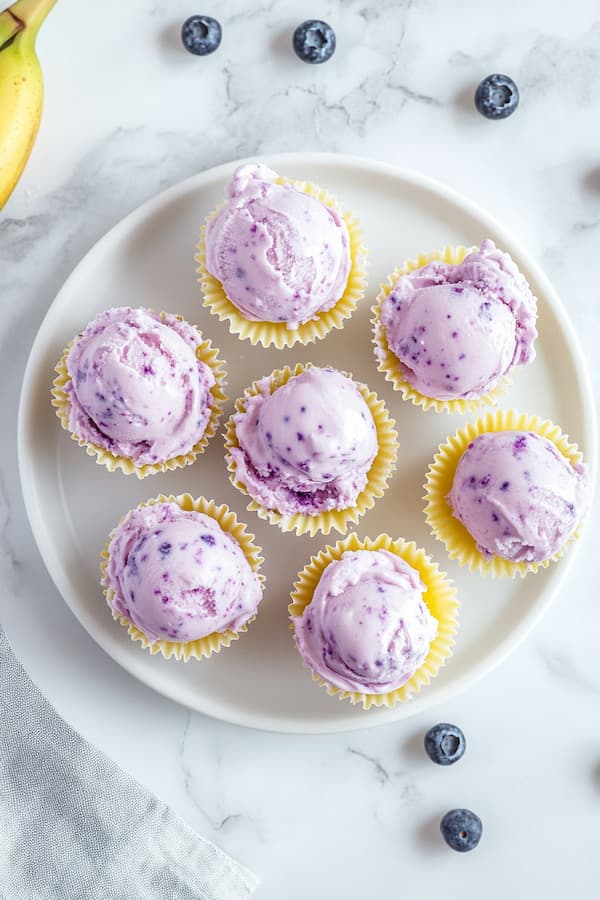
#2 Banana Blueberry Ice Cream Cups
Ingredients:
- 1 ripe banana (mashed until smooth)
- 1/4 cup blueberries (whole or lightly smashed)
- 1/2 cup unsweetened coconut milk or filtered water
Instructions
Step 1: Mash the Banana
Peel 1 ripe banana (brown-spotted for sweetness) and place it in a mixing bowl. Use a fork or potato masher to mash it thoroughly for 30–45 seconds until completely smooth, like a creamy base with no lumps. If too firm, microwave for 10 seconds to soften.
Step 2: Prep the Blueberries
Measure ¼ cup blueberries (fresh or frozen). If fresh, rinse and pat dry, checking for any spoiled ones. If frozen, thaw slightly for 5–10 minutes. Lightly smash half the berries with a fork to release juices, leaving the rest whole for texture. Set aside.
Step 3: Combine with Blueberries
Add the whole and smashed blueberries to the mashed banana. Stir gently with a spoon for 20–30 seconds to blend the juices, creating colorful streaks in the banana base. The mix should look chunky but cohesive.
Step 4: Add the Liquid
Pour in ½ cup unsweetened coconut milk (or filtered water for a lighter texture). Mix well for 1 minute until the texture is pourable like a smoothie. Coconut milk adds richness; water keeps it light. Scrape the sides to ensure even mixing.
Step 5: Check the Mixture
Check the mixture’s consistency—it should be smooth with visible blueberry bits, like a fruit smoothie. If too thick to pour, add 1 tsp more liquid and stir. If too runny, add 1 tsp mashed banana. This ensures it freezes properly with a creamy texture.
Step 6: Prep Your Molds
Get silicone cupcake liners, popsicle molds, or ice cube trays ready—silicone is ideal for easy release. If using metal trays, lightly spray with cooking spray and wipe off excess. Place on a flat surface to prevent spills.
Step 7: Fill the Molds
Spoon the mixture into each mold, filling about ¾ full to allow for expansion. Distribute blueberries evenly by stirring the mix before each pour to ensure every cup gets fruit. Use a spatula to scrape the bowl clean. Tap the tray to settle the mix.
Step 8: Freeze for 3–5 Hours
Place the molds in the freezer on a flat shelf to avoid uneven freezing. Freeze for 3–5 hours, or overnight for deeper molds, until the cups are solid. Check by pressing one—if it’s firm, you’re good. Deeper molds need closer to 5 hours.
Step 9: Pop Out and Store
Once frozen, pop the cups out by twisting silicone molds or running trays under warm water for 5–10 seconds. Transfer to an airtight container or freezer-safe bag, labeled “Pup Treats”. Store in the freezer for up to 2 weeks.
Step 10: Serve Cold
Serve 1 cup or cube to your pup as a cooling treat, ideal for senior dogs or those with sensitive teeth due to its softer texture when slightly thawed. Limit to 1–2 weekly for a balanced diet.
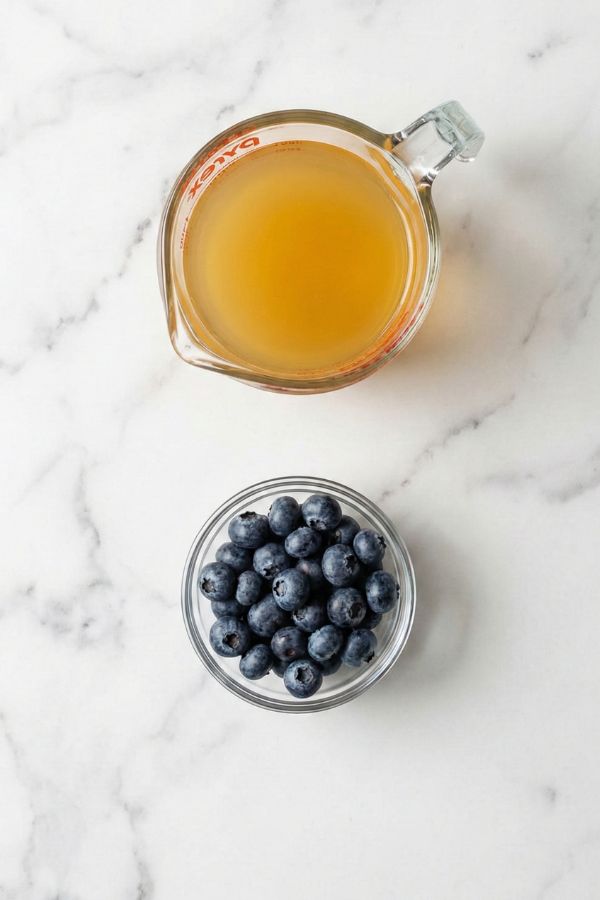
#3 Blueberry Pup-sicles with Chicken Broth
Ingredients:
- 1/2 cup low-sodium chicken broth (homemade or store-bought, no onion or garlic)
- 1/4 cup blueberries (whole or halved)
- Optional: 1 tablespoon finely chopped parsley or shredded carrots
Instructions
Step 1: Prep the Blueberries
Measure ¼ cup blueberries (fresh or frozen). If fresh, rinse and pat dry, checking for spoiled ones. If frozen, thaw slightly for 5 minutes. Slice large blueberries in half to fit smaller molds and freeze evenly. Set aside in a small bowl.
Step 2: Add Optional Extras
If using, measure 1 tbsp finely chopped parsley or shredded carrots (use the smallest grater holes for tiny flecks). Chop or grate finely to ensure they blend well and don’t clump. Place in a separate small bowl for easy distribution.
Step 3: Prep the Molds
Get ice cube trays or silicone molds ready—small molds work best for broth-based treats. Place on a flat surface to prevent spills. If using metal trays, lightly spray with cooking spray and wipe off excess for easier release.
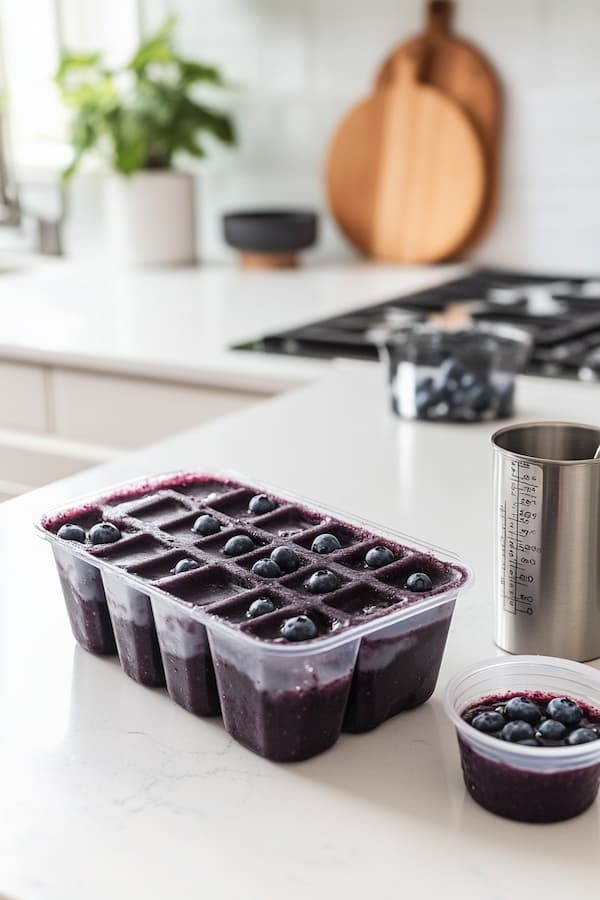
Step 4: Distribute Blueberries
Drop 2–4 blueberry halves into each mold section, depending on size. For smaller molds, use fewer to avoid overcrowding. Spread evenly to ensure every pupsicle gets fruit. If using parsley or carrots, sprinkle a pinch into each mold now.
Step 5: Pour the Broth
Measure ½ cup low-sodium chicken broth (homemade or store-bought, no onion or garlic). Slowly pour the broth into each mold, filling almost to the top. Use a squeeze bottle or measuring cup with a spout for precision to prevent overflow. Fill gradually to keep blueberries in place.
Step 6: Check the Molds
Inspect each mold to ensure the broth covers the blueberries and extras without spilling over. If any berries float, gently press them down with a spoon. Tap the tray lightly to remove air bubbles and settle the mixture.
Step 7: Freeze for 6–8 Hours
Place the molds in the freezer on a flat shelf to avoid spills. Freeze for at least 6–8 hours, or overnight, until the pupsicles are completely solid. Broth takes longer to freeze due to its high water content. Check by pressing one—if it’s hard, you’re set.
Step 8: Pop Out the Pupsicles
Once frozen, pop the pupsicles out by twisting silicone molds or running trays under warm water for 5–10 seconds. Gently press the bottom of each mold to release. Collect in a pile for storing.
Step 9: Store and Label
Transfer the pupsicles to a freezer-safe bag or airtight container, labeled “Pup Treats” with the date to avoid mix-ups. Store in the freezer for up to 2 weeks. Layer with parchment if stacking to prevent sticking.
Step 10: Serve Responsibly
Serve 1 pupsicle as a savory, refreshing snack, perfect for summer or toy stuffing. Stuff into a Kong or place in a bowl for licking fun. Limit to 1–2 weekly, depending on pup size, to keep it balanced.
Storage Tips
- Store in labeled, airtight containers in the freezer for up to 2 months
- Place parchment paper between layers to prevent sticking
- Let sit out for 1–2 minutes before serving if your dog prefers softer textures
- Always supervise while serving frozen treats, especially for small dogs or fast eaters
Conclusion
When the temps rise, these frozen blueberry treats bring the chill—and the tail wags. Whether you’re serving up fruity yogurt bites, banana-blueberry cups, or savory broth pupsicles, these icy snacks are a simple, healthy way to show your pup some love. No oven, no stress, just happy, hydrated dogs. Freeze on, dog parents.